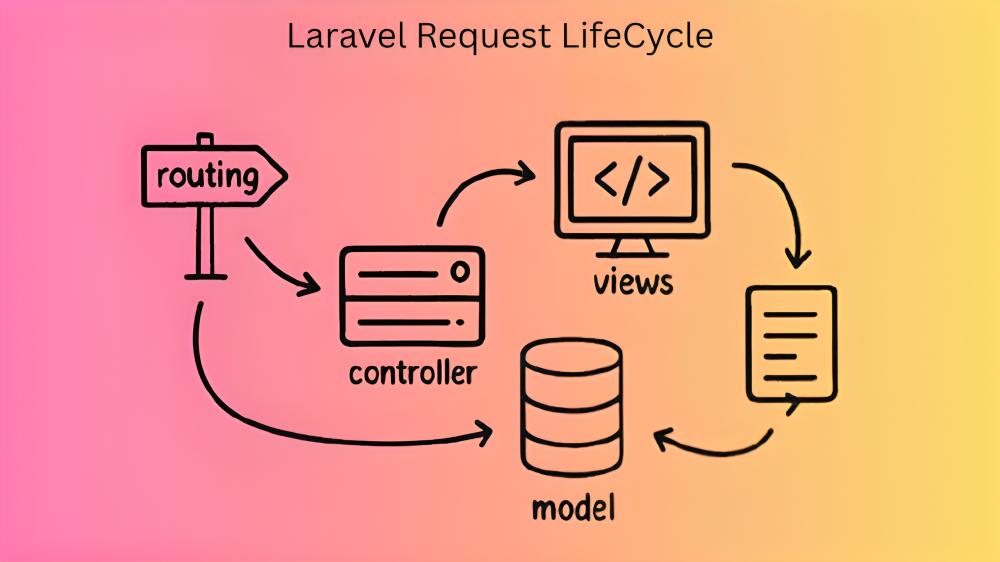
If you’re learning Laravel, understanding how your app works behind the scenes is key to building fast, secure, and reliable websites. In this guide, I’ll walk you through the complete flow of a Laravel application, explained in simple language with useful tips for developers.
1️⃣ The Entry Point: public/index.php
Every request to your Laravel app — whether it’s from a browser, mobile app, or API tool — begins here:
/public/index.php
Here’s what happens:
✅ Composer’s autoloader loads project dependencies
✅ The Laravel app is bootstrapped
✅ An instance of the service container is created
✅ The request is handed over to the Kernel
SEO-Friendly Tip: Place your project in the /public directory when deploying to avoid exposing sensitive files like .env.
2️⃣ The Kernel: Laravel’s Traffic Controller
Laravel has two main Kernels:
🖥️ HTTP Kernel → Handles web requests (visiting a website)
💻 Console Kernel → Manages Artisan commands (command-line tools)
For web requests, the HTTP Kernel does this:
✅ Registers global and route-specific middleware
✅ Captures the request object
✅ Passes the request to the router
Developer Tip: You can customize the Kernel to add security layers, performance tweaks, or maintenance features.
3️⃣ Middleware: Security and Filters
Think of middleware as Laravel’s checkpoints. Requests pass through multiple layers before they reach your core code.
Common Middleware tasks:
🔒 Verifying CSRF tokens (security for forms)
🛡️ Authenticating users
🍪 Encrypting cookies
🌐 Handling CORS for APIs
Best Practice: Remove unused middleware from app/Http/Kernel.php to speed up requests.
Unique Detail: You can create custom middleware for things like logging, IP blocking, or maintenance mode toggling.
4️⃣ Routing: Directing Traffic
After middleware, Laravel checks your route files:
📁 routes/web.php → For website pages
📁 routes/api.php → For API requests
Routes define:
- Simple Closures for quick responses
- Controller methods for complex logic
- Resource routes for RESTful APIs
Example:
Route::get('/about', [PageController::class, 'about']);
Pro Tip: Use route names for easy URL generation:
Route::get('/about', [PageController::class, 'about'])->name('about.page');
5️⃣ Controllers: Managing the Logic
Once a route matches, Laravel calls your Controller:
Controllers handle:
✅ Validating user input
✅ Calling models to interact with databases
✅ Preparing data for the view
✅ Returning responses (HTML, JSON, etc.)
Keep in Mind: Thin controllers that delegate work to models or services are easier to maintain.
Fun Fact: You can use Single Action Controllers for routes that only need one method.
6️⃣ Models & Eloquent ORM: Talking to the Database
Laravel uses Eloquent, its powerful ORM (Object-Relational Mapping), to make database work simple.
Models help you:
✅ Interact with tables as PHP objects
✅ Define relationships (one-to-many, many-to-many, etc.)
✅ Protect sensitive data with guarded attributes
✅ Use mutators and accessors for custom fields
Performance Note: Always use with() for eager loading to avoid N+1 query issues. Example:
$users = User::with('posts')->get();
7️⃣ Views: The User Interface (UI)
After processing, your controller returns a view, typically written in Blade:
Blade Features:
✔️ Clean and readable syntax
✔️ Template inheritance with @extends
✔️ Components for reusable UI parts
✔️ Conditional rendering with @if, @foreach, etc.
Example:
@extends('layouts.app')

@section('content')
<h1>Welcome, {{ $user->name }}</h1>
@endsection
SEO Tip: Add meta titles, descriptions, and Open Graph tags in your Blade layouts for better search rankings.
8️⃣ Sending the Response Back to the User
Once your view or API response is ready, Laravel:
✅ Passes it back through Middleware (for final tweaks)
✅ Converts data to proper formats (HTML, JSON, XML)
✅ Sends the response to the browser or API client
Optimization Tip: Use Laravel’s Response Caching or Static Pages for high-traffic endpoints to reduce load times.
Laravel Request Lifecycle Flow
🎯 Quick Summary: Laravel Request Lifecycle
| Step | What Happens |
|---|---|
| 1️⃣ | User sends a request (e.g., visit /about) |
| 2️⃣ | index.php boots Laravel |
| 3️⃣ | Kernel registers middleware and captures request |
| 4️⃣ | Middleware filters and secures the request |
| 5️⃣ | Routes match the URL |
| 6️⃣ | Controllers run the logic |
| 7️⃣ | Models interact with the database |
| 8️⃣ | Views render UI or JSON response |
| 9️⃣ | Response sent back to the user |
💡 Key Laravel Best Practices for Developers
✅ Follow Laravel’s folder structure for clean, maintainable code
✅ Use middleware for security, logging, and access control
✅ Optimize Eloquent with eager loading and pagination
✅ Keep Blade templates organized with components and layouts
✅ Utilize Laravel’s caching tools to improve speed
📝 Final Thoughts
Understanding Laravel’s request lifecycle helps you:
✔️ Debug issues faster
✔️ Optimize performance
✔️ Write clean, scalable code
✔️ Build secure, modern applications
The more you master this flow, the more confident you’ll feel building with Laravel.
Want to dive deeper into any specific area? The Laravel documentation offers excellent resources for each component we’ve covered.


